|
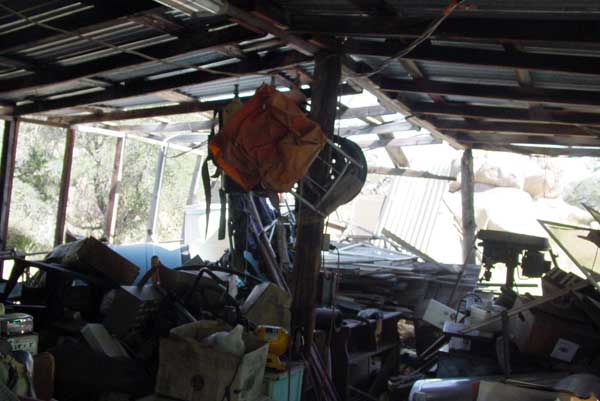
When I moved to Oracle in 1982, there was a three-walled shed on the place that looked like it could use some TLC. I gave it a "Lick and a Promise," and moved on to other, more pressing things (like raising a family, starting a business, etc.). I later built some shelves in it, and it functioned reasonably well for quite a number of year. But, with the passage of time, it has suffered a few traumas (such as Andrea falling through a snow covered fiberglass section, winds removing some side panels, etc.), until as a shed, it no longer shed water, and the pressed wood shelves I so painstakingly constructed, dissolved. Not so recently, a strong wind removed a quarter of the roofing. Perhaps I should have just re-attached the sheeting, driven in a few more nails, and called it good, but somewhere, deep in the recesses of my mind, a relay tripped and I decided it was time for a new roof. |
| The logical thing to have done would have been to have purchased a few pieces of lumber and re-attached the corrugated metal. But lumber has become so expensive, and in the back of my mind I've always wanted to build trusses, so... |
|
|
I encountered (via Craigslist) a gentleman in Wilcox who was selling #5 rebar (5/8 " diameter) for 20 ¢/lb. The weight of this rebar is very close to 1 lb/foot, making the calculations relatively simple. I purchased about 800 feet, and the curtain lifted on a production that has monopolized my free time since that fateful decision (circa May of 2010). |
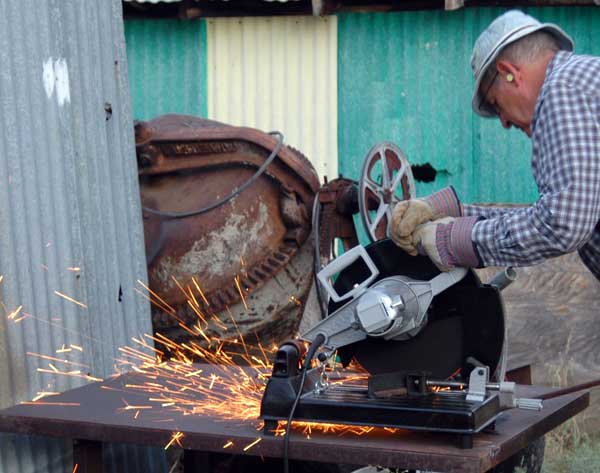
| I purchased a $100 cut-off saw from Harbor Freight (and even bit on their one-year, unconditional warranty for an additional $10), and literally, the sparks began to fly. In the cold light of logical hindsight, it should have been obvious, even at this early juncture, that just the cost of the tools would exceed that of prime lumber... |
|
|
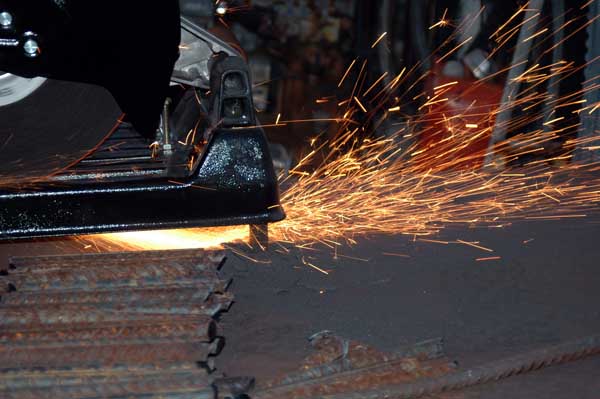
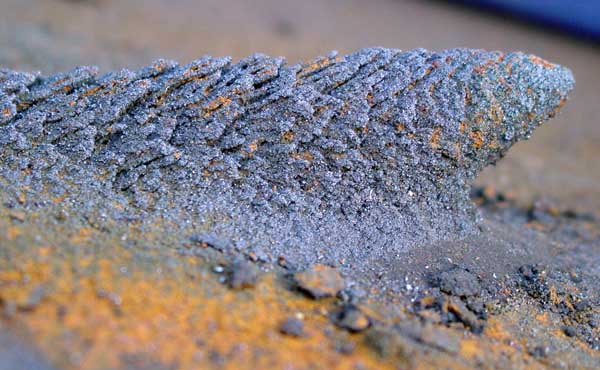
I have a fascination with molten metal. This is a sculpture made by flying sparks from the cut-off saw, that "welded" themselves to each other. This piece is about four inches long. |
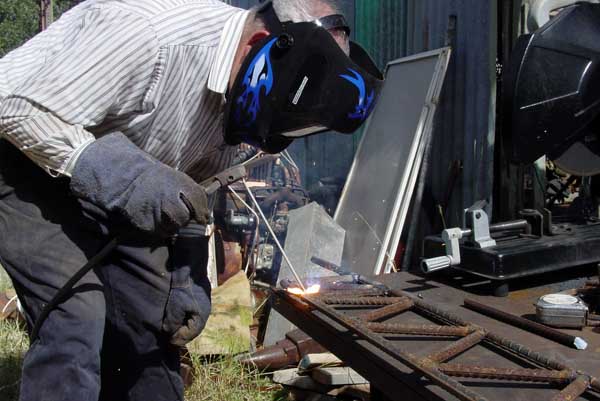
| As I just finished the last joist, AJ delivered a birthday present of a new welding helmet. It darkens when the first arc is struck, then lightens again when the flashing stops. I'm not usually much for new gimmicks, but after using this, I have decided it is a "must have." I don't know how I ever welded without it. |
|
|
In retrospect, I should have made a jig to hold the pieces in the correct alignment. A piece of channel iron 8 inches wide and 20 feet long would have worked perfectly. As a result of not doing this, some of the joists have a bit of an arc while others are flat. The end result is that the roof isn't flat. However, I didn't discover that fact until the joists were in place and it would have required an inordinate amount of effort to rectify the problem. The story of my life is encapsulated in this incident: I never seem willing to procure the proper tool for the job. While it is amazing what you can accomplish with a screwdriver, a pair of pliers, and your fingernails, in the end, the finished product never looks pretty. But unless you are looking for it, you won't see the roof undulate, and I'm confident it will turn water. |
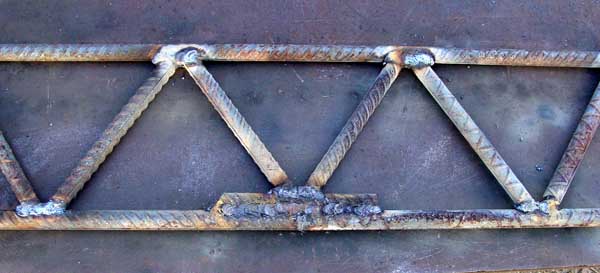
| There were around 500 cross braces, each welded on the front and back of the top and bottom. This is a lot of metal to melt, and the process went significantly slower than I anticipated. It also required more welding rod than I thought it would. I normally use 3/32" rod, but 5/8" rebar is larger than the materials in my typical projects. I found that better welds were obtainable using larger (1/8") rod. If my memory serves, I burnt up over 30lbs of this stuff and it sells for something close to $2 per lb., making prime lumber look better all the time. |

|
|
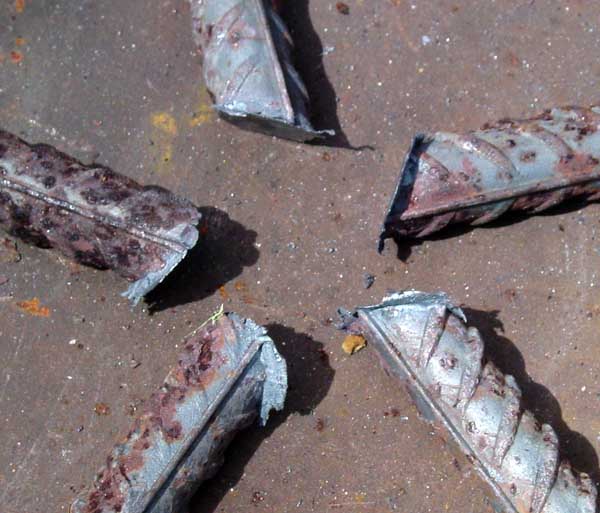
I also went through two and a half metal cutting blades, but other than popping the 15 amp circuit breaker on many of the pieces, the cutoff saw performed well. |
| Welding is pretty much a stoic sport, but occasionally it shares elements with dancing (if you include break-dancing as part of the genre). I ruined a lot of socks before I finally stopped wearing sandals to weld, but sometimes even high top foot wear isn't adequate. This is a close-up of the padding on the inside of the cuff of my boot. When this piece of molten slag dropped in there, I danced with the best of them. |

|

|
We have a lot of junk in the shed. Most of it is stuff that is "too good" to discard, but really not worth keeping. |
| Losing the shed roof meant that it would get wet, and much of it would be ruined. I don't have many compunctions about discarding ruined stuff, so maybe I should have let it set until I could part with it all. |

|

|
Climbing up on that roof to dismantle it was a leap of faith. I'm still amazed that it held. |
| All things considered, the roof came down quite quickly and easily, but it sure looked funny. |

|

|
The walls were actually more of a problem than the roof. |
| That was probably because I had not intended to take them down, and I was trying to save as much as possible. In the final analysis, I probably should have replaced them all. |

|

|
Removing the walls resulted on a scene that was reminiscent of photos that one sees of tornado damage. |
| The shed measures 20 by 20 feet. The back (eastern) side has always been open, giving it at total wall length of 60 feet. When it was done, we had rebuilt/replaced 30 feet of wall. |

|

|
I think I have decided to give it four walls, meaning that there will be more "new" walls than "old" walls. After 30 years of seeing it, the new look is a bit "funny." But, I'm sure I will become accustomed to it soon. |
| As you are no doubt aware, there is an unwritten law of the universe that declares any remodeling project will expand. This one was not an exception. Pictured here is the bottom plate on which the south wall of the shed sat. I really didn't want to replace it, but given that I could literally grab a handful of wood and crumble it between my fingers, I didn't have much choice. Years of neglect can not easily be undone. |

|

|
The foundation under the southwest corner of the shed is below ground level. I thought that was a odd way to build it, but then much about the construction of that place strikes me as being odd (Howard Brigham [from whom I purchased the property {but had never met}] is now a patient of my at Sun Life, and I am wondering about the wisdom of asking why certain things were done [or not done]). Being below ground level accounts for the rot seen in the above photo. As we dug down to the foundation, we found a cement slab that runs parallel to the south wall of the shed, between it and the rabbit house. It is covered with 6 to 8 inches of dirt, suggesting that perhaps the foundation was above ground level at the time of its construction, but has been buried by sediment over the years. I think of the ground as being stationary, but over a long enough time interval, its motion is significant. I've lived there 30 years without the slightest inkling this slab was there. Perhaps I am at risk of losing my coveted status as a trained observer... |
| And speaking of trained observer, after we decided it would be easier to raise the foundation using a row of cement block that it would be to lower the ground by digging and hauling, I sent AJ to Home Depot for some block and the mortar to lay them. This is what he brought back. I didn't say too much, as a week prior, while shopping at Sam's Club, I happened on a large bar of Ghirardelli's dark dipping chocolate, which, by the time I got it home, had morphed into white chocolate (which, in my humble opinion, isn't chocolate at all...). |

|

|
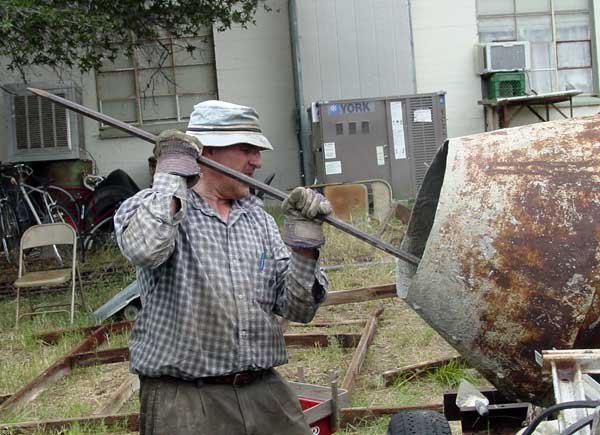
Cement and I don't get along too well. I decided to use the cement mixer to mix the mortar for the blocks. I even read the mixing directions and (believe it or not) tried to follow them. |
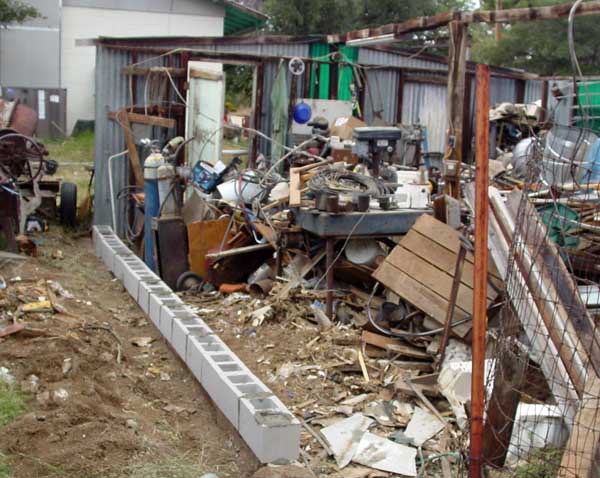
| The mortar set up in about 4 minutes... What a mess... So, I dumped cement in the mixer and used the resulting conglomeration to fill the blocks that I simply set on the foundation (there has to be a better way...) |
|
|
The result is as crooked as a snakes' back, but then the foundation was cooked too. And, and as the saying goes, "you can't make a silk purse out of a sows' ear." |
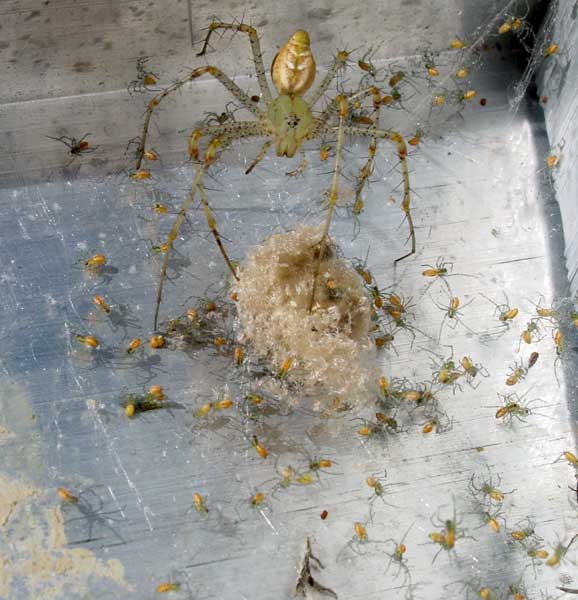
| Moving ladders and stuff around, we happened on this lovely family portrait. An I thought I had a lot of kids... I counted 87 here. |
|
|
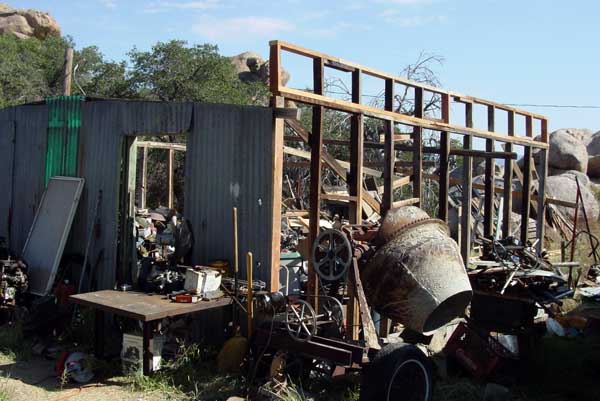
We raised the south wall, and temporarily stabilized it... |
| and finally, the first joist went up. |
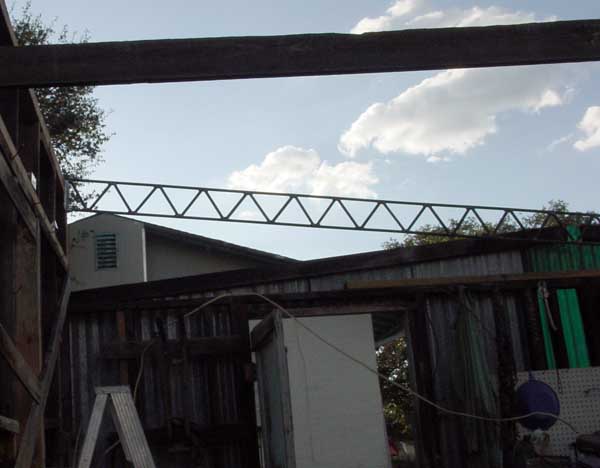
|
|
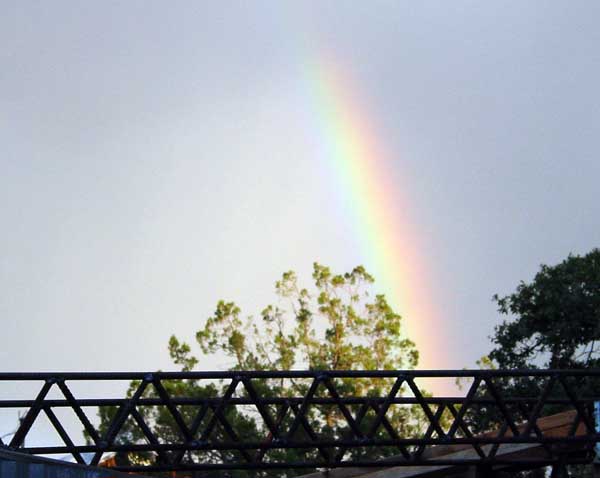
The effort involved in me removing the roof off any building is, in some manner that I haven't been able to completely elucidate, a powerful catalyst for producing inclement weather. |
| This time was no exception, and the 10% chance of rain fell out of the sky with a vengeance. But, it was brief and I don't think we suffered too much damage. |
|
|
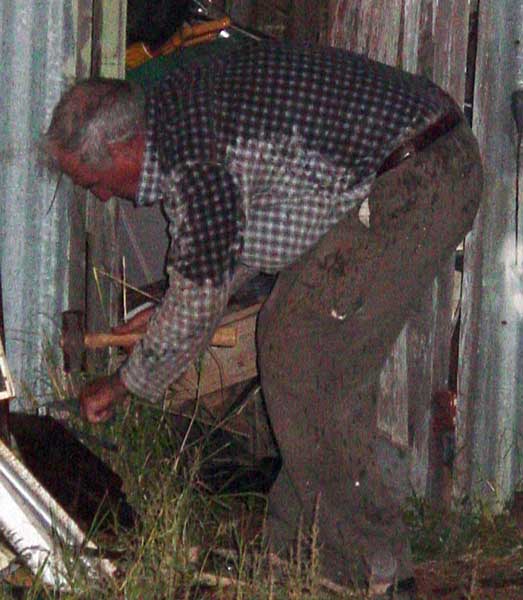
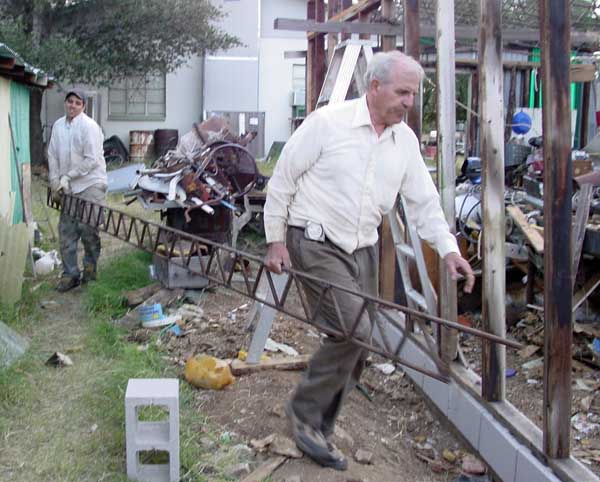
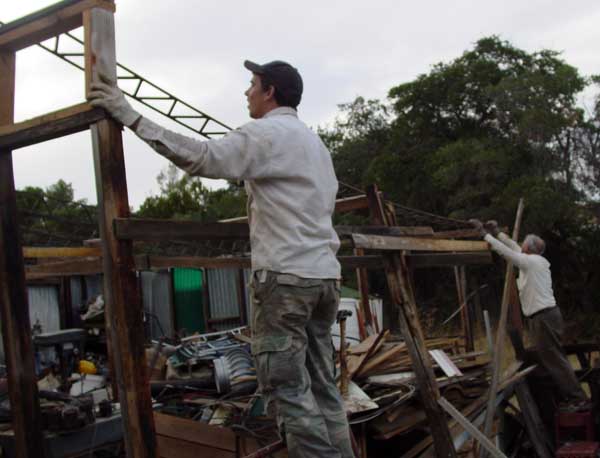
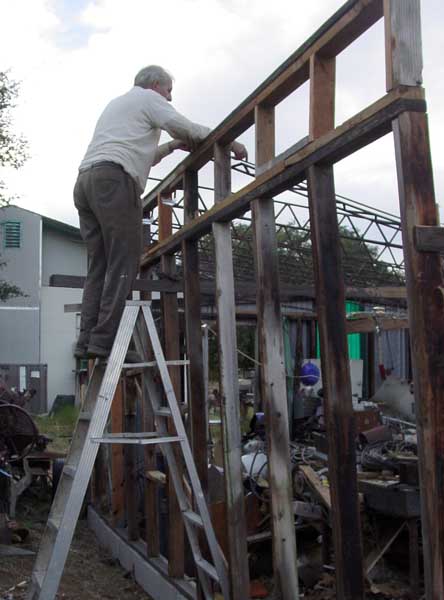
The one part of this process that I would have had trouble doing by myself was lifting the joists up on the walls, and then holding them straight, upright, and true while I welded in braces to keep them in position. |
| AJ was a big help. In fact, it would have been difficult to have raise the roof without him. |
|
|
As it was, the unstable, swaying ladders and flexible joist were enough of a challenge. Barbara helped too, as much as her condition allowed. |
| After the first two joists were in place and stabilized by braces welded between them, the process became easier (and I use that word loosely). |
|
|
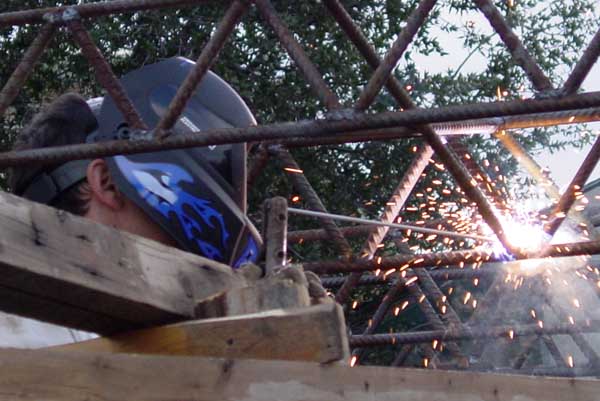
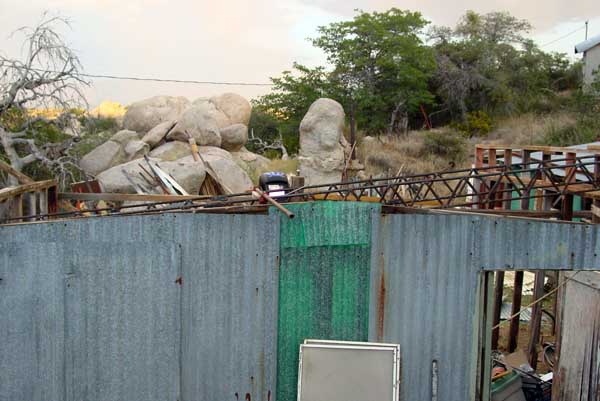
We would position the next joist and clamp it in place using two spacers (lengths of 2 by 4 lumber). |
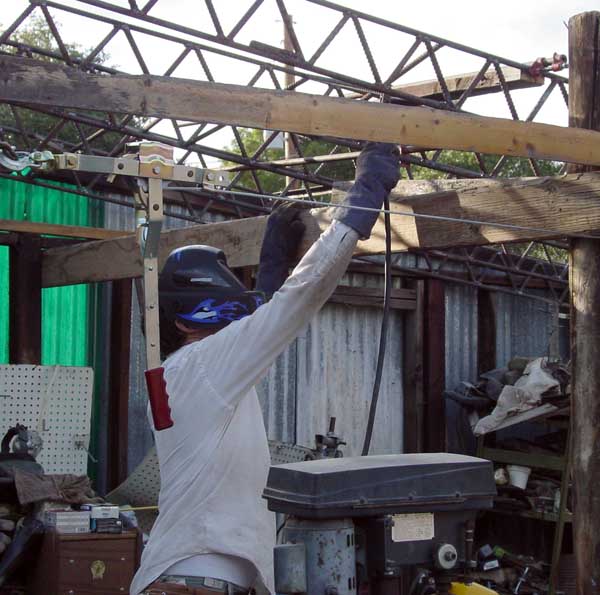
| There was a fair amount of welding, even after the joists were up. I considered several patterns for the stabilizing supports, and finally settled on one that relied on a series of squares and triangles. It used less materials, and the longest unbraced span was about 4 feet. |
|

|
Much to AJ's chagrin, we didn't remove every thing from the shed, but opted to work over it. As a result we had several small fires, started by molten metal spray from the welding process. I was too busy extinguishing them to obtain digital documentation. |
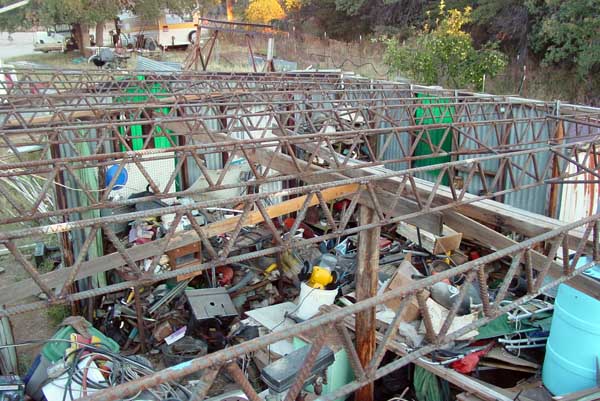
| At long last, all the joists were up. |
|
|
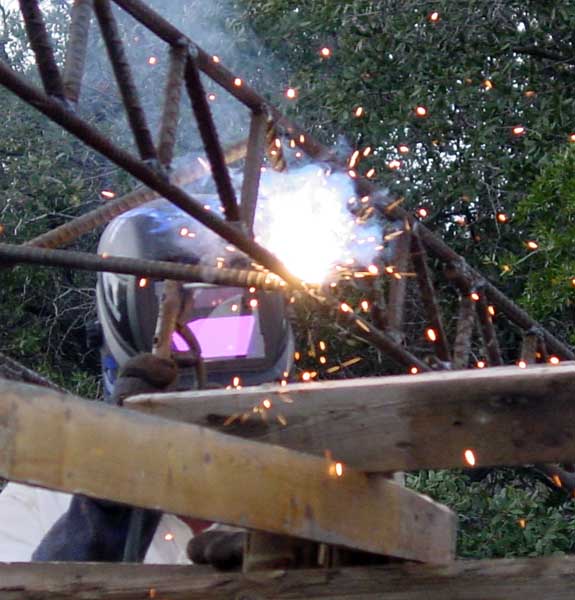
But there was still more welding... |
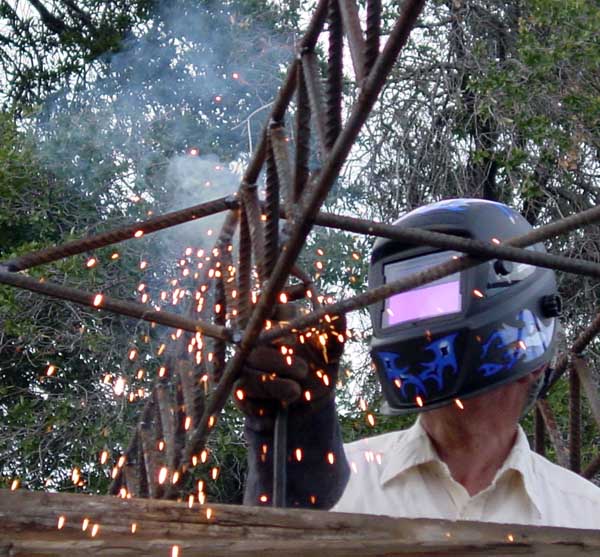
| ...and more welding. The new welding helmet has some idiosyncrasies. Apparently there is sensing panel on its' face, and if something comes between that panel and the arc (as in being behind a joist and welding on the next joist over), the view plate does not darken, and the user gets a bright surprise. |
|
|
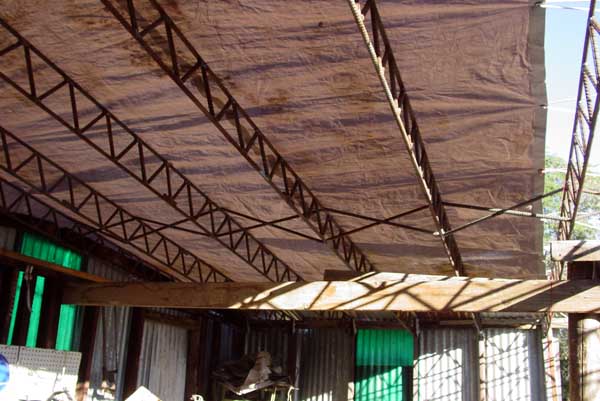
There were 5 days when the forecast listed a greater than 50% chance of rain, and we prepared by draping a tarp over the bare joists. It actually rained only once and the tarp work quite well. |
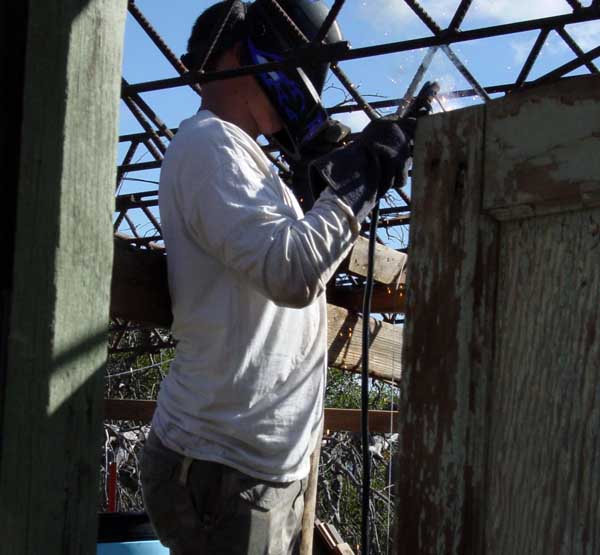
| And then there was more welding... |
|
|
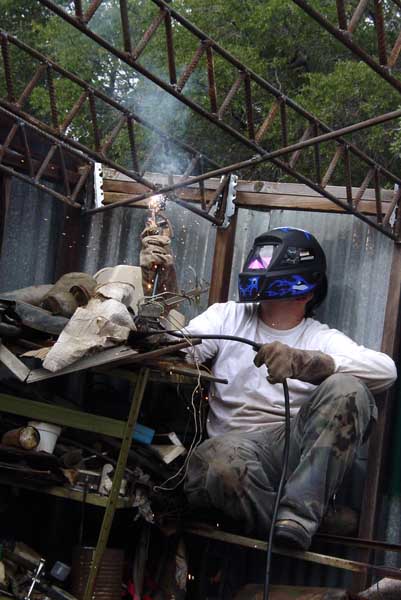
...and more welding. While he didn't express it verbally, I got the feeling that AJ enjoyed that part of the job. |
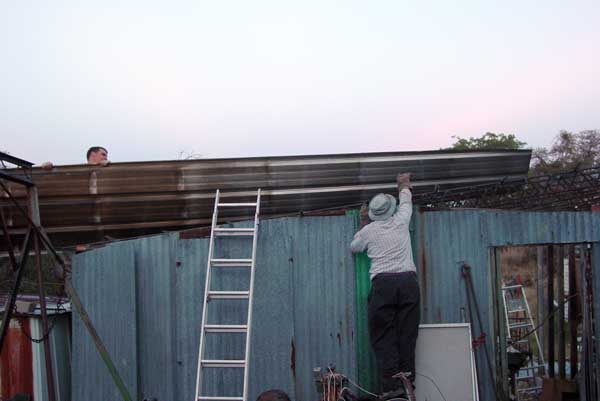
| And finally, it was time to put the skin on the roof. I had originally planned to use the same corrugated metal that I took off the roof, but David Ellis (through means incomprehensible to me) managed to procure some salvaged roofing from the plastics factory that burned. These came in 3 foot by 21 foot pieces and were a perfect fit for the shed. I don't remember exactly now, but I think it was somewhere around 60¢ per linear foot, which made it $12.60 for a sheet, or $88.20 for the roof. Prime lumber was looking better all the time... |
|
|
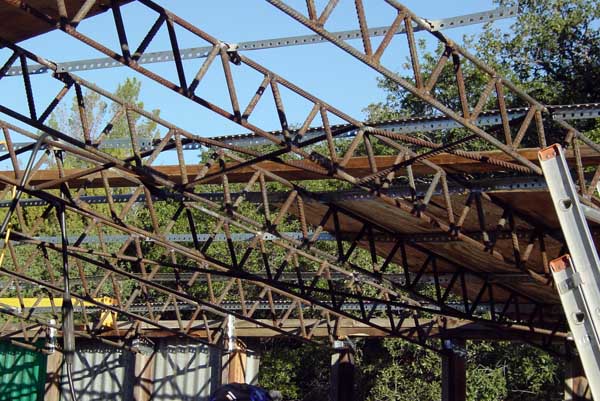
I encountered, again on Craigslist, a gentleman selling "light perforated angle iron." The cost was a paltry $3 per 8 foot section. I used this to support the roof between the joists. |
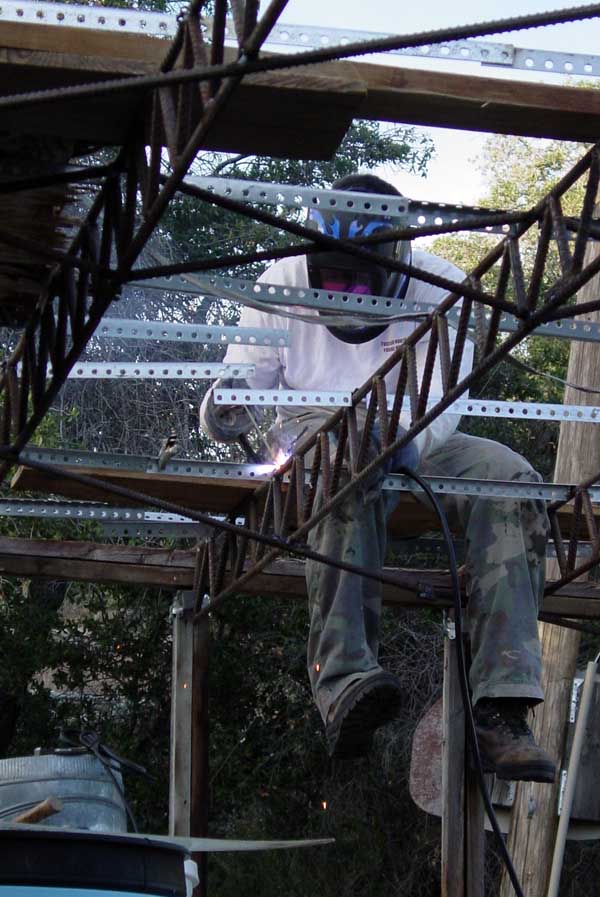
| And, of course, this required more welding... |
|
|
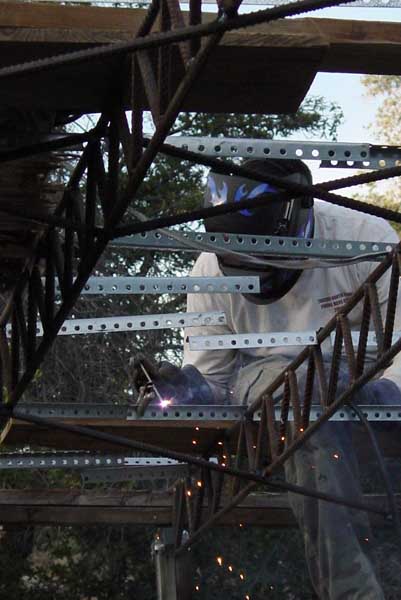
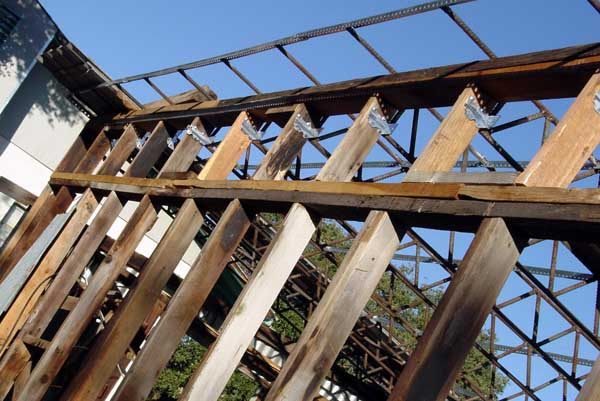
...and yet more welding where each piece crossed each joist. I had some concern that this "holy" angle iron was too light to support the load of the roof. It was galvanized, and difficult to weld but after the roof was in place, it seemed to work well enough. |
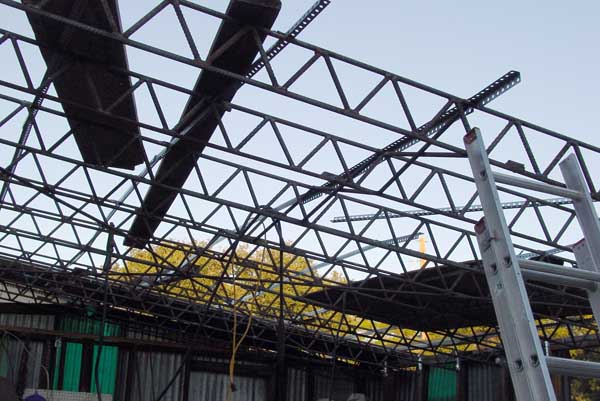
| In case you are wondering, there is a lot more work to this sort of undertaking than meets the eye. |
|
|
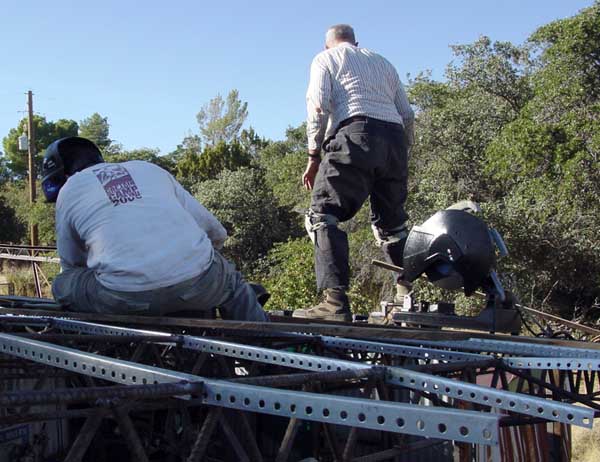
And moving around up on a "surface" like that is not trivial for a fat old man. |
| AJ didn't have much trouble, but I felt like a big fat frog slithering over a frozen cattle guard. |
|
|
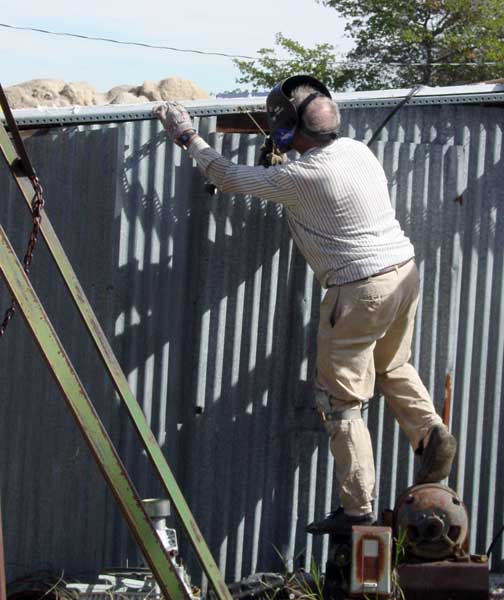
And hanging out in space trying to melt thin metals together without burning holes in them is a real trick. |
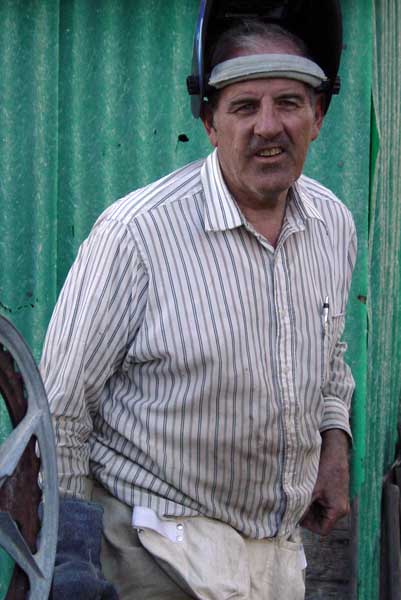
| But, all things considered, it was kind of fun. Still, if you know of someone who needs a similar type roofing job done, do me a favor and kindly keep that information to yourself. |
|
|
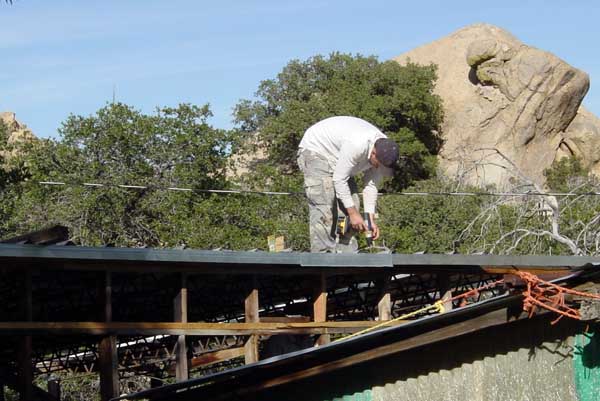
We attached the roof skin to the "holy" angle iron using bolts. |
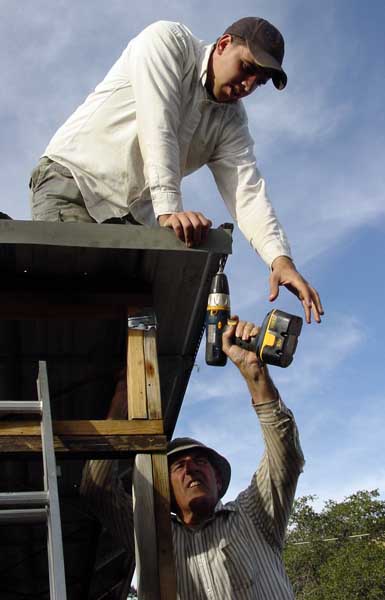
| This required a lot of drilling. First a small pilot hole was drilled from the bottom, to locate the opening in the "holy" angle iron... |
|

|
...and then a larger (1/4 inch diameter) hole drilled from the top, to admit the bolt. |
| While this could be done by a person working alone, it was definitely much easier and faster with two people. |

|
|
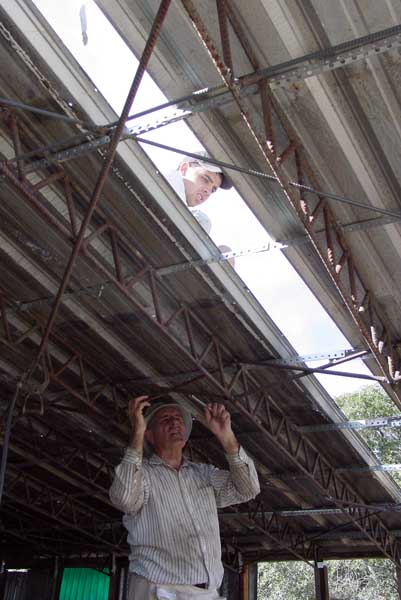
The next step tested my mathematical skills, as well as my patience. I calculated the number of bolts I would need at 293. Each bolt required two flat washers, one split washer, and one nut. That sounds pretty simple and probably within the capability of a precocious third grader, but it took 7 trips to the hardware store for me to acquire that number. I'm still not sure if I can't count, can't add, or if I lost stuff after I got it home, but each time I left the store, I was sure that would be my last trip. And, just for the record, this hardware probably cost more than the afore mentioned prime lumber would have... |
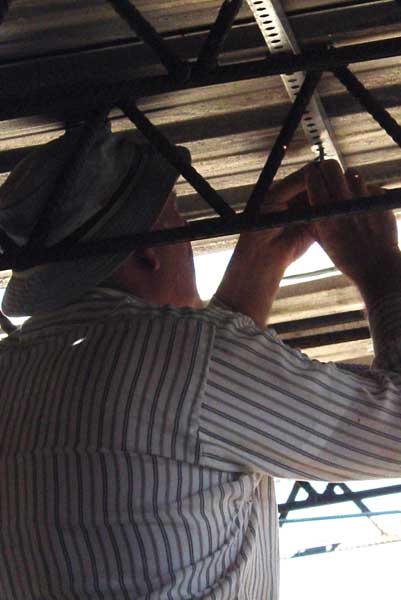
| Again, putting in bolts was a job that went much faster with two people, but even then it went much slower than anticipated. Standing on rickety perches and reaching while trying to thread two washers and nut on a wiggly bolt is challenging. I ended up with cramps in my hands each day I worked at it. |
|
|
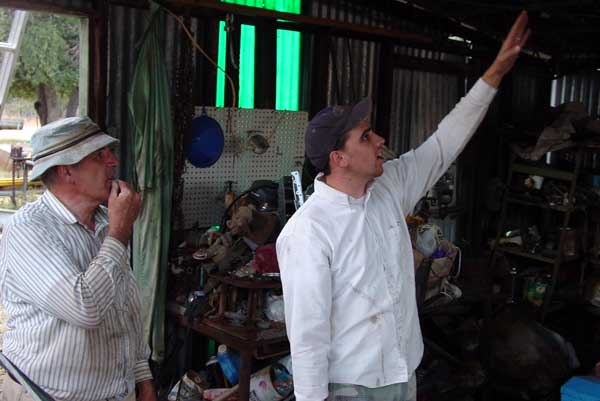
AJ had some good ideas (but don't tell him as he might get a big head). Finally, the roof was done. Now all I have to do is add the fourth wall and... I want the shed to have enough room to work in it, but it seems a shame to throw away all that "stuff," so... I think I will extend the roof and two wall to the north and create an over hang under which I can keep it. On project always seem to lead to another. |
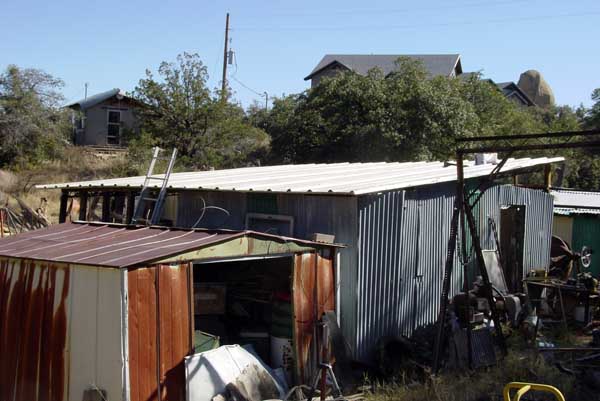
| Here is the current state of the shed. The roof is finished, but the walls are not, nor has provision been made for covering the extensions. |
|
|
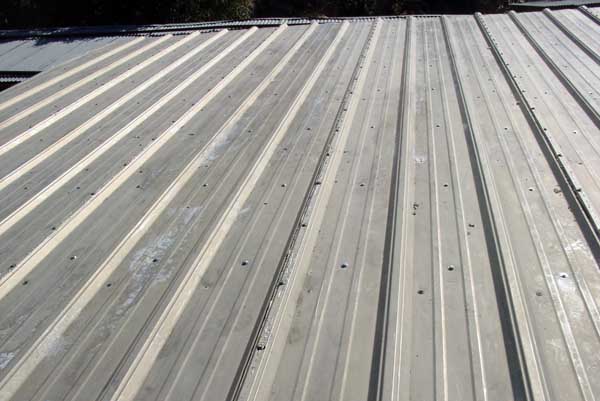
We tied the roof down with 293 bolts with washers, lock washers, and nuts. That is probable more than is necessary, but if the roof moves at all, the wind will work the metal, causing fatigue and eventually failure. In addition to the bolts, I tied the three-foot sections together along the tops of the ridges where they over lap, using tar covered, self-tapping screws. I filled all the hole already present. The metal roofing came with the self-tapping screws that were removed from it when it was salvaged, so I then covered the existing holes with roofing tar and then stuck a self-tapping screw in each. I plan to give the tar a couple of weeks to dry, and then go over the whole roof with some elastomeric roof coating paint to seal the crack and crevices around the bolt heads. When that is done, I have high hopes of having a dry shed for some years to come. |