|
|
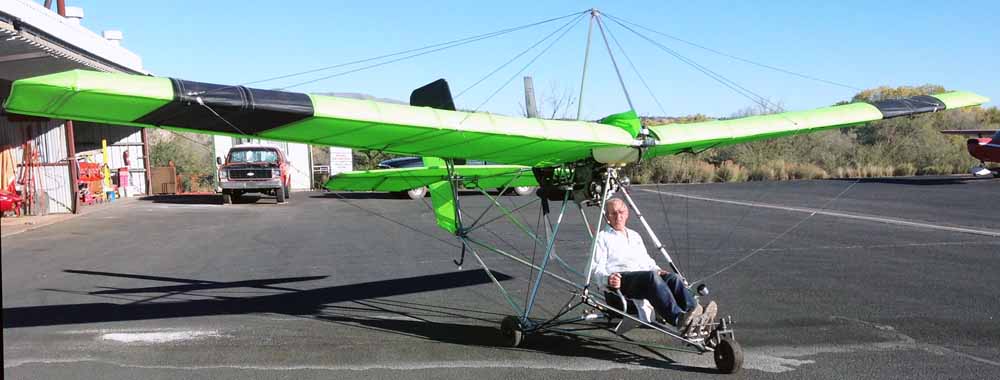
It was never my intention to buy a "PROJECT," but my ultralight quickly became one. Black Friday found Nathen, AJ, and I laboring on it and coming close to finishing. It lacks only tying down some gas lines, tying up some dangling straps, affixing velcro, lubricating joints, checking instrument connections and functions, and a very thorough pre-flight inspection to be ready to go. When I took the flight physical (that I failed), I told the aeromedical examiner that it wasn't a question of whether or not I would fly again. The question was whether the side of the aircraft would say "Cessna" or "Quicksilver." But, now that the event is imminent, the bottoms of my hind paws are becoming a bit chilled (Perhaps a slight case of cold feet?). Stay tuned for late breaking news... Barbara concedes that I am making progress. When I purchased it, I could sit in the seat amid all the pieces and make airplane noises. Now, I can sit in the seat with all the pieces attached and make airplane noises. |

|
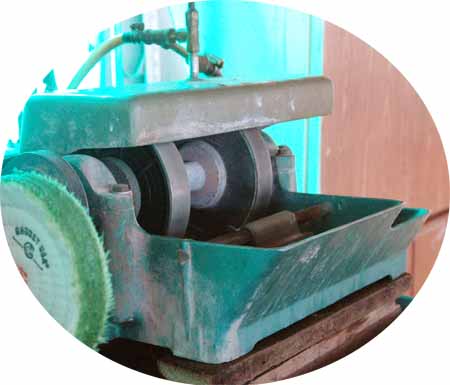
| I enjoy our little lapidary shop, but it is hard to say whether it is more fun to polish rocks or to build equipment to do so. Some time ago, I encountered a vibratory tumbler on sale at Harbor Freight. I have read that vibratory tumblers work much faster, accomplishing in two days what a rotary tumbler does in a week. The machine had a sticker on it cautioning against its use as a rock polisher but, not being one who believes everything he reads, I bought it anyway. About 12 hours into my first batch the lid came off. While cleaning up the mud and debris, it became obvious that the cautionary placard was correct. I set the shaker aside and pondered the problem for a year or so (closer to 3). I finally decided to remove the tumbler barrel and fasten a container directly to the shaker platform. That approach seemed reasonable until the rocks wore a hole in the container (photo on the right). Tupperware made a box designed to hold a sandwich. That container had thick walls and was hard to seal (also hard to open once sealed). Those characteristics suggest it might function in this application so finding one of those at a thrift store has become one of my next projects. |
|
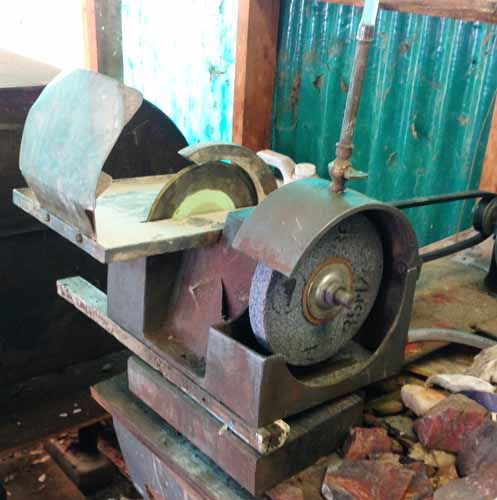
I first experimented with lapidary during the 1960s in the hobby shop at BYU. In those days, man made (industrial) diamonds were in their infancy and still quite expensive. (Actually, Dr. Tracy Hall [the first person to reproducibly make diamond] had just left GE to join the faculty at BYU and his lab was located across the street, and up one block from the hobby shop). In that era, we used carborundum grinding wheels of same type used on bench grinders today. I tried using a bench grinder with an 8 inch wheel, but it was too aggressive and broke the stones that I tried to shape. I had given up using carborundum until I inadvertently tried a bench grinder with a 6 inch wheel. This worked quite well, so I mounted a carborundum wheel on the side of the Rock-Rascal trimming saw (in the place of a non-functional felt buffing wheel). The Rock-Rascal has fittings for a cooling water inlet and a waste water return. So, after some effort (and a trip to the hardware store), I put on my plumbers hat and installed both water and sewer. |
| There is a downside. On the Highland Park grinder (the one with diamond wheels) the basin that catches the spray from the grinding wheel extends out 5 inches. The catch basin on the Rock-Rascal extend out from the wheel about three-quarters of an inch. In practice, that means that you turn the water on just enough to keep the wheel wet, wear an apron, and replenish the water source with some regularity. The carborundum wheel cuts slower than the diamond wheel, but I haven't used it long enough to assess how practical it will be. In any case, it was fun solving the little problems incident to its installation. |
 |
|
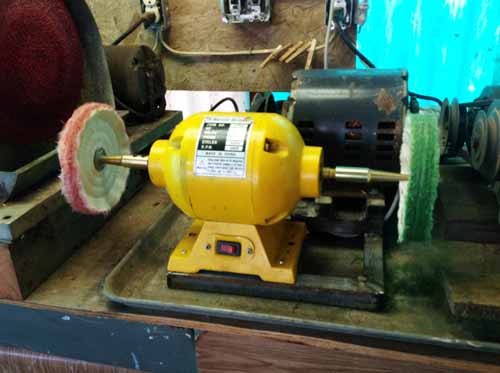
This is the buffer (from my last letter), as installed. It is actually too wide for the available space and when the cloth pads wear out, I plan to replace them with ones having a half-inch arbor. That will reduce the machine width by four to six inches and make things a bit less crowded. As now constitued, the process of polishing a rock consists in slabbing the rock with the big 16 inch saw, paring the slab to near its final dimentions using the trim saw, shaping the stone using either the diamond or carborundum grinding wheels, smoothing the stone on the belt sander, giving the stone a preliminary polish using one (or more) of the buffing wheels, and then achieving a final polish using the diamond polishing pads (usually the three finest grits). That description sounds a lot more involved than it seems in actual practice. |
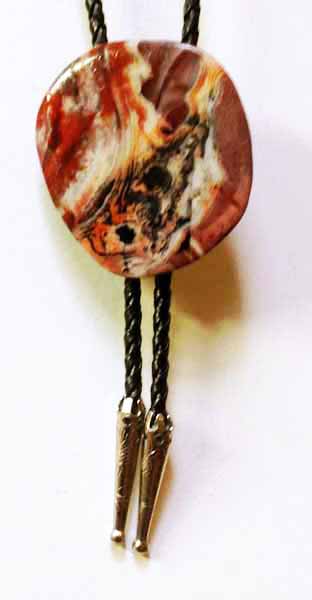
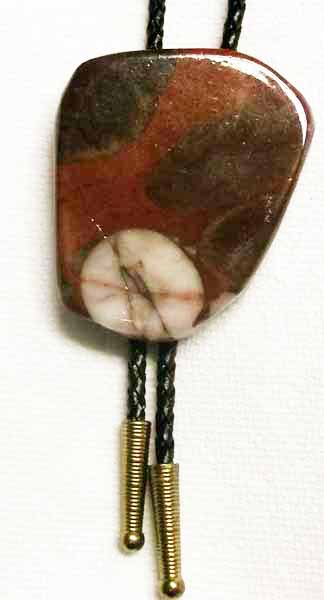
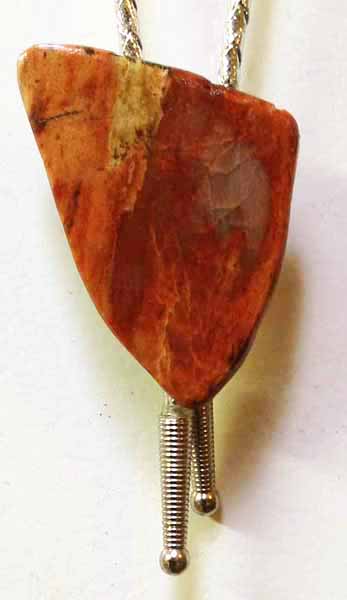
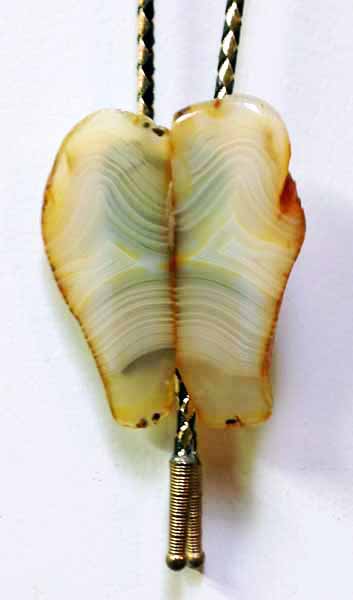
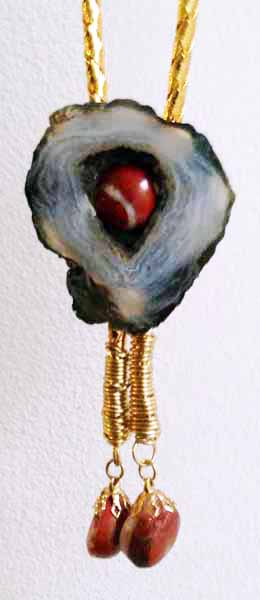
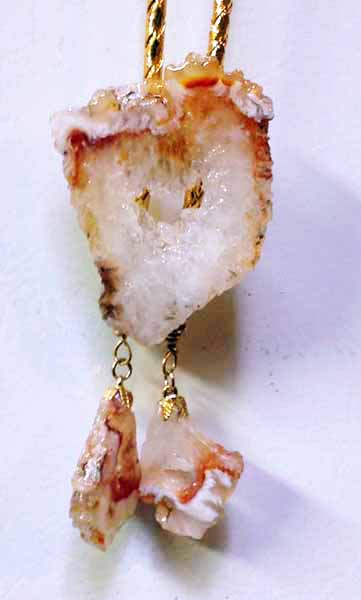
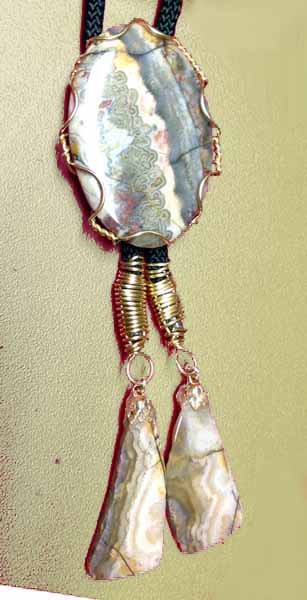
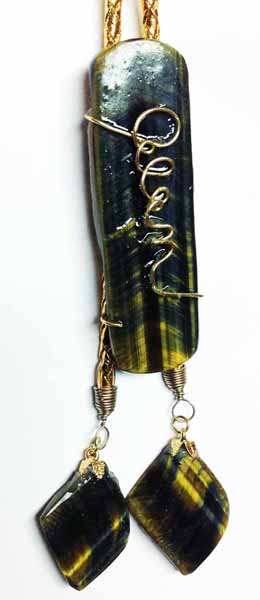
| In a somewhat muted protest against mandatory neckwear, I have followed my Grandfather's lead and have taken to wearing bolo ties (which, parenthetically, are the official neck tie of the State of Arizona). So far, making these ties is the only use I have found for my lapidary shop. I have given a number of ties away, and helped grandkids make others so my photo collection is incomplete, but below is documentation of my efforts. Does it appear to you that this undertaking is pushing the envelope of my creative potential? | ||
|
|
|
|
|
|
|
|

|

|
| We paid a visit to Nathen's family, ostentatiously to help him erect his shed, but in reality, to make the acquaintance of his newest family member. Janelle seems to be quiet and friendly, but my intuition suggests that not many seasons will pass before the first of those attributes becomes a distant memory. This collage consists of the few non-blurry images (and I use that adjective loosely) I captured while we were there. |
| Barbara was not feeling well enough to go, so I rode up to Pipers' baptism with Karren, KD and Jared. It was a nice service, and I enjoyed it. Due to a failure to communicate, I learned just as the meeting started that I was slated to conduct the music. I've worked in Scouting long enough that their motto (Be Prepared!) has become part of my psyche, so that wasn't a problem. In fact, it was fun. This is a collage of the "less-blurry" images I captured there. |

|
|
|
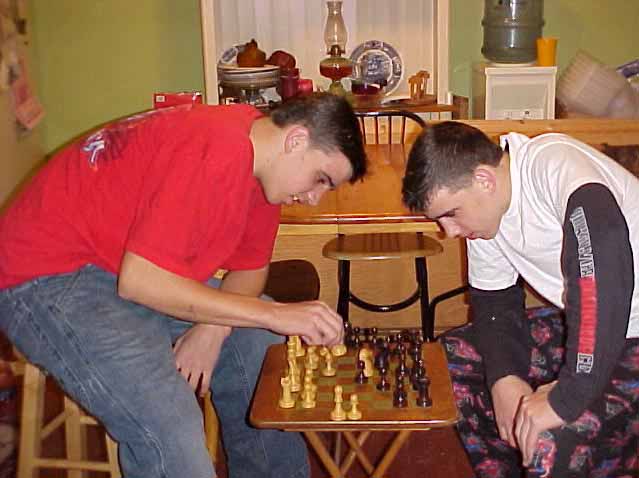
| Several years ago, my Nikon camera began taking dull, drab, gray pictures and I stopped using it. Yesterday, I finally got around to taking it to Tucson Camera Repair. The young pup behind the counter there reset the camera, snapped a couple of photos, and handed it back to me with the pronouncement that it was functioning perfectly. In an attempt to explain the problem better (when I get up the nerve to take it to a different repair shop), I hunted up some photos taken with the camera before its "dark ages" and came up with this "blast from the past." Does anyone remember this? |
