 |
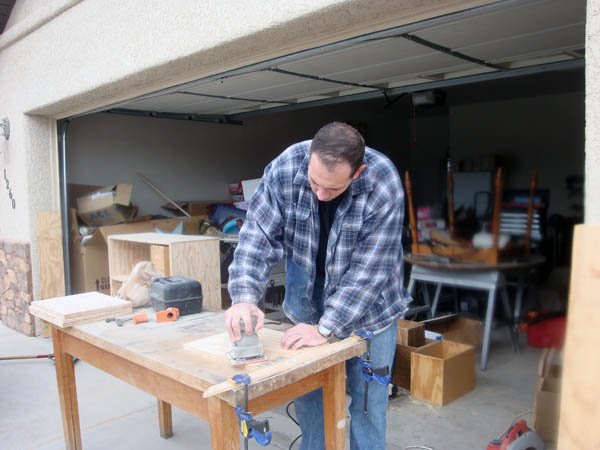
For the last few months, I have been on the hunt for a table saw. I know that you can use a skill saw and some 2x4's and make due, and I have been for the last few years - in fact I built the dresser and bunk beds in the boys room without a table saw, but now the dining room table is nearing completion, and I need to do some small detail work. I know that you can take a skill saw and turn it over and have someone hold it while you use it as a table saw, but that is a good way to loose a finger. So I began asking around if anyone had one that would work. What I found was Jim had an old one that he needed to get rid of (just ask Karren) and he gave it to me. The only problem was that it was sitting out in the rain for several years, and had no motor. After I freed the guides from their rusted spots in the table track, and got the blade to rotate, I brought it home. Terra was of course excited about it. She was even more excited about the old rusty cooler motor that I found in Dad's shed to power the saw (never mind the fact that it spun and half the required rpm's the saw demanded). |
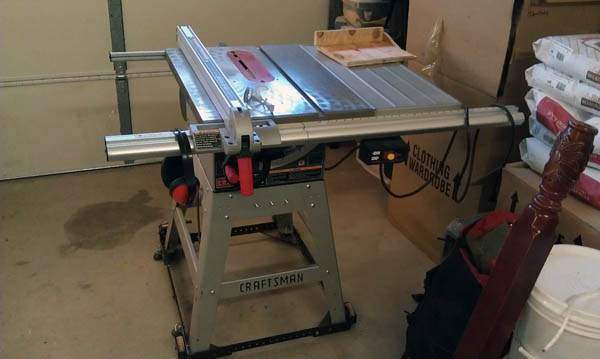
| After getting the saw and cooler motor home, I needed to make a mount for the pair. Well this part took some time, and before I was able to make it happen, a table saw appeared on Craig's list. The photos are of the Craig's list saw in Tucson. We were headed in to town and so we made arrangements to look at his saw. He wanted less than the cost of a new cooler motor, and the only problem with his saw was the the motor wouldn't work all the time. Sure enough while we were there he started it up a couple of times and sometimes the motor didn't have enough starting torque to spin the blade up to speed, it just sat there and hummed. He said that he spent $150.00 on the motor and took it into a motor shop for them to rebuild it, but still no luck, so he was selling it as is. I looked at it and figured that the bearings on the saw spindle were probably bad, and made the deal. Later that day I came back in with the Bronco and trailer, and picked up the saw. | 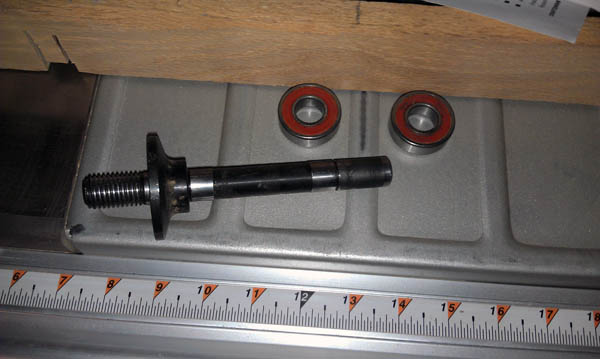 |
|
Sure enough, when I got the saw home, the same failure to start of the saw was present. I took out the bearings and found a new set of bearings at Bearing, Belt & Chain for $5.50 each, and after they were replaced the saw has never failed to start. So after making this saw work, I am no longer properly motivated to get the older one fixed. The whole reason that I wanted to get a table saw was so that I could fix the broken dining room table (seen here in the background), but once it was up and running, Terra had other ideas. She has wanted a shelving unit for years now for the kids to put their toys in. She is under the delusion that once the shelving unit is acquired, their room will miraculously stay clean. Well she purchased a shelving unit at Lowes - for $50 ish and it had 9 shelves (3x3 arrangement). Well Terra got it home and put it together (it was sawdust pressed with glue boards with plastic wood painted skin) and was very disappointed in its function. It was unstable, and wouldn't hold up to much abuse. The backing for it was a cardboard and Terra couldn't bring herself to putting it on. |
| After this failed to satisfy her desires for a shelving unit, she searched Craig's list and found someone selling some wooden boxes. They measured about 9.5" wide, 11" high, 15" deep. She wanted to put them into the old shelves, but the cubby holes weren't big enough, nor would they support the weight of the boxes. So the new project commenced. We went and purchased some plywood that was finished on one side and started to put the new saw to work. This shelving process has been going on for about 1.5 years. She had talked me into starting it when we were in Arkansas, and we cut some scrap plywood up to make some shelves. But due to our lack of supplies, we would have to make a shelving unit that was 1x3 cubbies. So now that Terra had acquired the new boxes (9 of them) we had to make the shelving unit big enough to hold the boxes.
|
 |
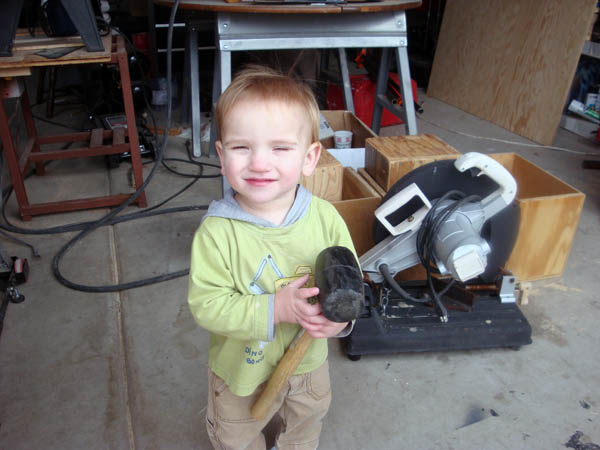 |
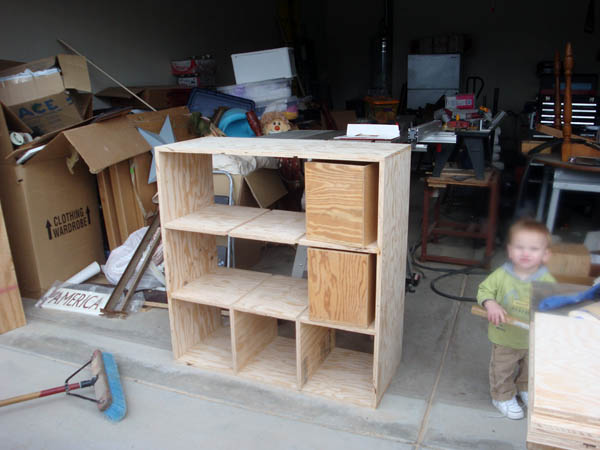
What this story is missing is how much help Landen was to the entire operation. Every time I went outside he would follow shorty. Even if I sneaked out when he was asleep or pre-occupied, he would come out once I started making noises. He would just wander around and find any tool that he could and then use it on anything else he found. When he had a hammer or mallet, everything was a nail; when he had a screw driver, everything was a screw; when he had a pair of pliers, everything was stuck and needed turning; when he had a clamp, everything was loose - etc. He was constantly walking away with something that I needed. I probably spent a quarter of my time chasing him around for something that I needed and just laid down besides me. |
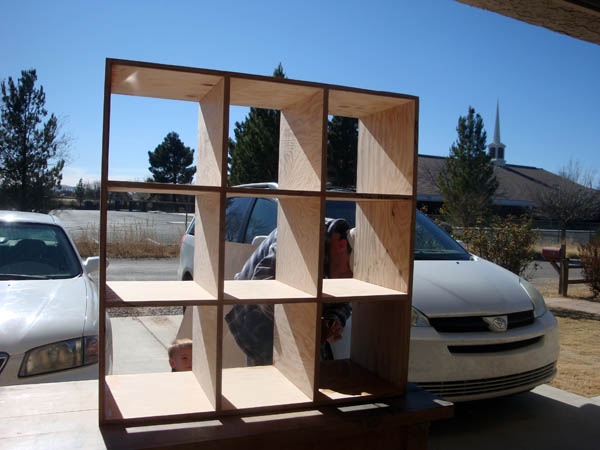
| The shelves weren't that hard to put together, and I actually enjoyed doing it when I finally did it. The cubby holes are approximately 12"x12"x16". I basically built them around the boxes that Terra had. I would put a box on a board and ask how much room she wanted on each side of it and then this is what we ended up with. They aren't very close to perfect, but I think they should last for a while. The are constructed out of 3/4" plywood, with some 3/4"x1/4" pine trim around the front of the shelves. I sanded them down to close to smooth, and then stained them, and then put two coats of polyurethane on to protect the wood. I don't know how long they will last, especially with the wooden boxes being slid back and forth across the wooden surfaces, but we shall see. Currently the boys are pretty excited about them, but again I don't know how long that will last before it wares off. | 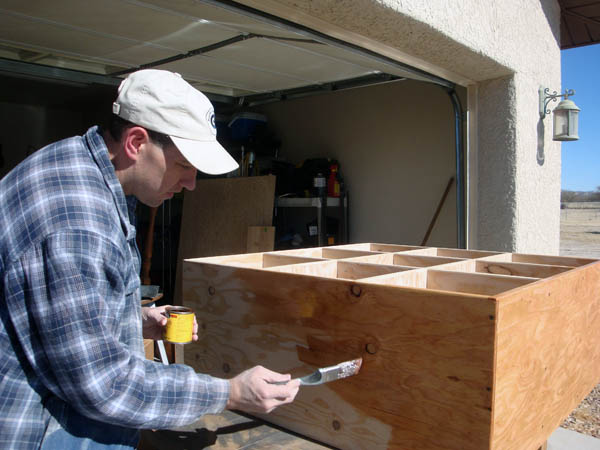 |
 |
My neighbor would go by on Saturdays and make comments like, "when you finish with your cabinet would you make me one..." for the first few weeks, then his comments turned to things like, "Aren't you finished with that yet?" I am not terribly fast when it comes to making these types of projects, but in the end I manage to complete them. I think that the finished product is of fairly good quality, but I can't turn them out very fast. I guess that I probably shouldn't try to earn a living doing these for other people. |
| This view is the "bad side" of the shelving unit. It shows the unfinished sides of the plywood. I put the good side up on top, out on the sides and up on the bottom. Both horizontal shelves also have the good side up, but the interior vertical boards have the finished side to the right. Don't really know why, but I just chose a side and stuck with the convention. | 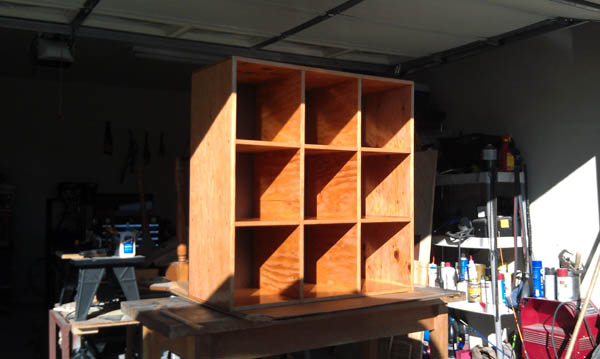 |
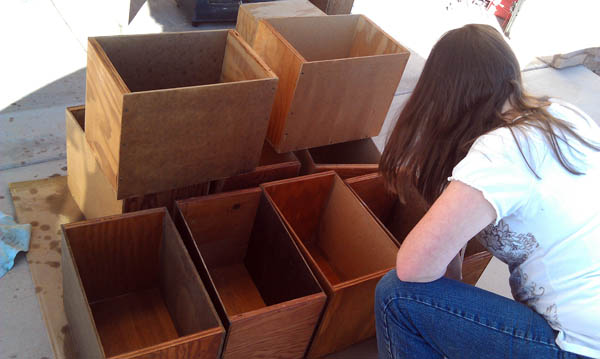 |
Here are Terra's boxes. We stained them also to match the shelving unit. It was all stained golden pecan. Now in the boys room, they have a set of bunk beds, a dresser, and now a shelving until all made out the the same types of wood and stained similar colors. Too bad the bunk beds still aren't in that great of shape now. For some reason the boys will chew on the sides of the bed frames and there are teeth marks all over them. Also our movers that helped us twice didn't have an eye for detail, and wrote numbers on the pieces so that they could reassemble them. They also weren't very careful about which screws went where, and well it has seen better days. |
| After the boxes were stained, we drilled holes in each side and put some 5/16" nylon rope in the holes to make handles for the kids to carry them around by. We put these handles in the front and backs of the boxes so that once they got them off of the shelves the could carry them around and not just drop them on the floor. Any bets as to how long it will be until the floor contains all of their toys and the boxes lie empty on the new shelves? | 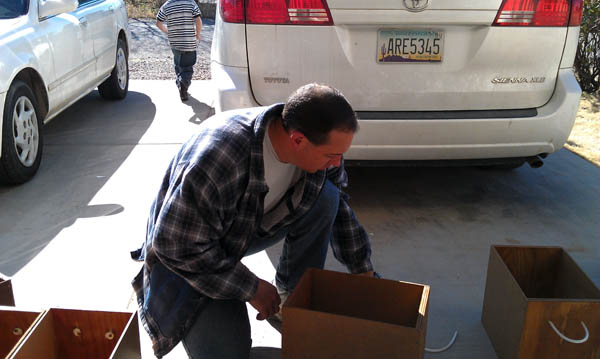 |
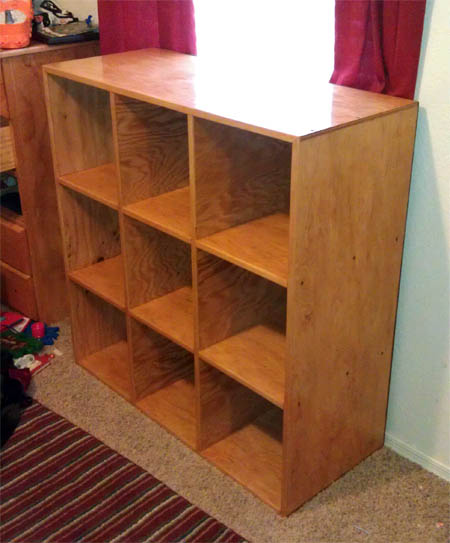 |
Here is the "good side" of the shelving unit. I probably shouldn't have screwed it together, but I just don't trust glue to hold everything. Maybe I am not very experienced in the properties of glue, or maybe I am inept and applying bonding adhesives, but screws I can understand and get behind. The downside is that you can see the exposed heads on the sides. Oh well, I guess that is one more strike against me for going into business making and selling these units. |
| Here is the finished product. Actually since this photo was taken, Terra took her silhouette and cut out vinyl letters and put it on the front of the boxes to tell the kids what was in them. Things like "army men", "cars", "animals", and the like now are printed on the "front" of these boxes. Even if they aren't terribly practical. |  |
